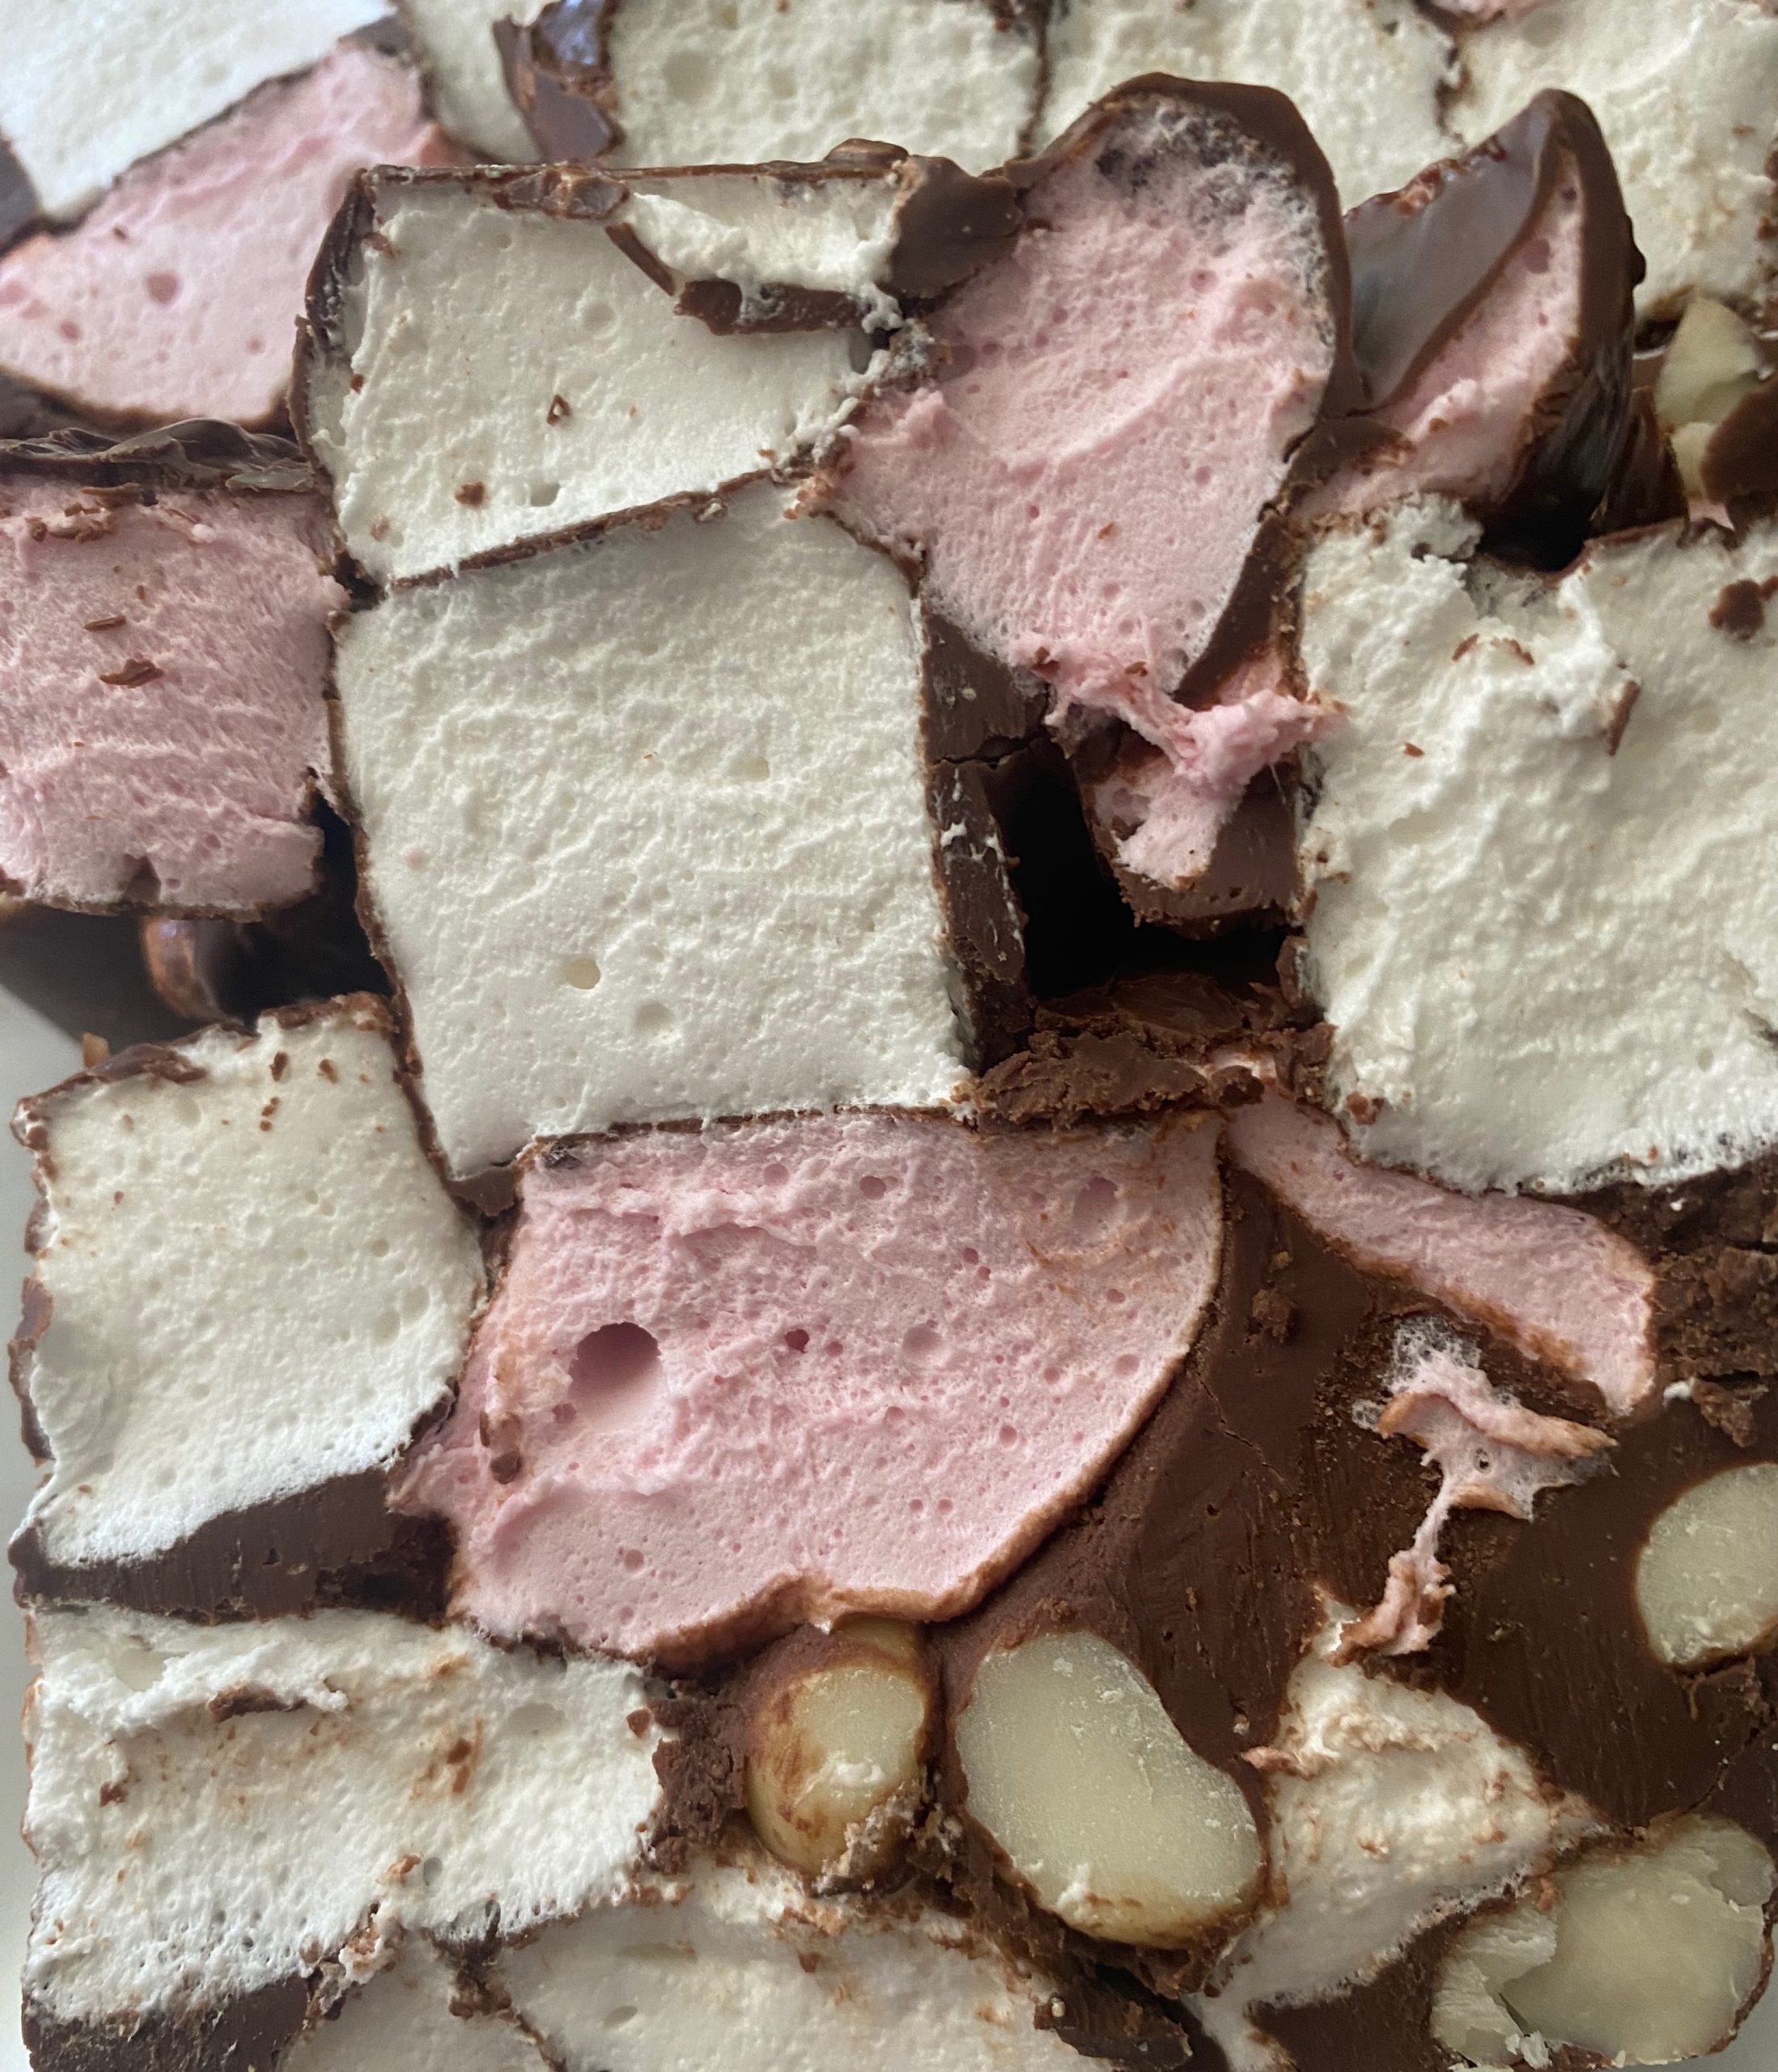
with Davidson Plum marshmallows, a flavour game changer
Davidson Plum Marshmallow (pink batch)
1 ½ cups White sugar
½ cup Davidson Plum juice
½ cup Glucose syrup
¾ cup Water, this is for the gelatine
2 tbsp Gelatine, powdered
Vanilla Marshmallow (white batch)
1 ½ cups White sugar
½ cup Water
½ cup Glucose syrup
¾ cup Hot water, this is for the gelatine
2 tbsp Gelatine, powdered
2 tsp Vanilla
Ingredients to make the Rocky Road
375 g Choc. Use a good quality cooking chocolate or compound.
125 g Copha
250 g Salted and roasted macadamia nuts. Peanuts or any favourite nuts is fine.
1 Batch of PINK marshmallow
1 Batch of WHITE marshmallow
MAKING MARSHMALLOW
1Put 3/4 cup of boiling water in a cup
2Add the powdered gelatine to the water and stir until dissolved.
3Prepare two pans, I use a 20cm x 20cm tin, so anything close to that works.
4Put the Davidson Plum juice, sugar and glucose in a saucepan for pink batch
Put the sugar, glucose and water in a saucepan for white batch
5Stir gently and take the temperature to 115C
6When the mixture has reached 115C add the gelatine mix and stir in.
7Transfer to mixer, starting off at lowest speed start mixing. This is a hot mixture so take care. Always remember health and safety!

8You'll see a change in the clarity of the mixture as it starts to aearate.
9Stop the mixer. Add the vanilla for WHITE marshmallow
10Again start the mixer at a low speed, then speed up to get the mixture start to happen!
11Once the marshmallow starts to stick to the beaters ie it starts to cling onto the beaters and rise up the beaters, then it's ready.
Pour into your prepared pan, leave to set at room temperature. This might take a few hours.
PREPARING MARSHMALLOWS
12Take the marshmallow out of the pan and dust the top with cornflour. This is to get rid of the stickiness
13Turn the marshmallow upside down and with a wet sponge/chux dampen the baking paper. It will be wet enough when you see it start to wrinkle.
14Gently get a corner or bit of paper and peel it from the marshmallow. It should come away cleanly.
15Dont forget to dampen the sides as well. Sometimes you need to add a bit more water and wetness to the marshmallow to get it to separate. Dont be too shy!
16Then get a sharp knife, I usually use heavy cleaver for this.
17Cut the marshmallow into chunks, approx 3 or 4 cm square, but any size will do really! It's about what you want your marshmallow to be like bite-sized, or a good mouthful.
18Roll all the chunks into corn flour to get rid of the stickiness on all sides.
19Mix the two colours together and put aside for Rocky Road construction.
TO CREATE THE ROCKY ROAD
20Prepare your pan or container. For this recipe I used a box (actually I had a cardboard wine bottle box) it measured 26cm x 11cm x 11cm. It doesn't really matter what you use, whatever works for you. But this gives an idea of size.
Line it with baking paper
21Chop the copha into small bits
22Add both the the Choc buttons and copha in a bowl and into the micro wave and heat for 45 seconds or so. This is so much dependant on your microwave. Repeat this process until melted.
23I use the microwave for this as its quick and easy, but heat and stir the choc/copha mixture regularly so that it doesnt burn. Keep taking the choc mixture out of the microwave and keep stirring. It takes a few times, but its worth the patience for the results.
24Once its completely melted the result should be like "runny" cream. Very liquid.
PULLING ALL THE INGREDIENTS TOGETHER FOR THE ROCKY ROAD
25I think this is probably the trickiest direction when you're making Rocky Road for the first time. But don't be alarmed. I've make this recipe for your kitchen, not a commercial confectionery kitchen that has a few other things like a hot table to work with.
26Make sure your marshmallow and the nuts are at room temperature.
27We're using our hands here...so please ensure they are clean, ie freshly washed in soapy water!
28Get your melted choc and now mix in the macadamia nuts. The reason for this is that we want the macadamia and/or peanuts to have a coating of chocolate and not stick to the marshmallow, this also helps with shelf-life
29Get a handful of the marshmallow squares and put them in the chocolate to cover and then put into your container
30Repeat this process until all the marshmallow has been done. Press is down to get rid of any air pockets.
31The beauty of marshmallow is that its flexible and so will press down really easily
32The macadamia/peanuts nuts will sink to the bottom, so scoop a few nuts up every time you coat your marshmallow to get them thru evenly.
33Once all the marshmallow is done and in the container then just scoop out any left over choc and add on top.
34The reason I say to just do a few marshmallow chunks at a time is so that the chocolate doesn't set on you. It doest set pretty quickly if you just tip the whole batch in at once, this avoids the big lump affect!
It still cuts up and tastes fine, but just doesn't look as pretty!
Once the Rocky Road has set
35Its better at room temperature at all times. I know this is pretty hard during the heat of summer and when its really humid!
36Take out of the container and peel away the paper.
37Get a heavy knife, I use a cleaver again. Don't use a serated bread knife. We want a nice clean cut to show off our work.
38With the knife just press down putting your weight on the Rocky Road to get a clean cut.
39The knife might get a bit sticky as the cross-section reveals the marshmallow
40Wipe knife in between cuts with a damp cloth.
41Enjoy your Rocky Road.

Ingredients
Davidson Plum Marshmallow (pink batch)
1 ½ cups White sugar
½ cup Davidson Plum juice
½ cup Glucose syrup
¾ cup Water, this is for the gelatine
2 tbsp Gelatine, powdered
Vanilla Marshmallow (white batch)
1 ½ cups White sugar
½ cup Water
½ cup Glucose syrup
¾ cup Hot water, this is for the gelatine
2 tbsp Gelatine, powdered
2 tsp Vanilla
Ingredients to make the Rocky Road
375 g Choc. Use a good quality cooking chocolate or compound.
125 g Copha
250 g Salted and roasted macadamia nuts. Peanuts or any favourite nuts is fine.
1 Batch of PINK marshmallow
1 Batch of WHITE marshmallow
Directions
MAKING MARSHMALLOW
1Put 3/4 cup of boiling water in a cup
2Add the powdered gelatine to the water and stir until dissolved.
3Prepare two pans, I use a 20cm x 20cm tin, so anything close to that works.
4Put the Davidson Plum juice, sugar and glucose in a saucepan for pink batch
Put the sugar, glucose and water in a saucepan for white batch
5Stir gently and take the temperature to 115C
6When the mixture has reached 115C add the gelatine mix and stir in.
7Transfer to mixer, starting off at lowest speed start mixing. This is a hot mixture so take care. Always remember health and safety!
8You'll see a change in the clarity of the mixture as it starts to aearate.
9Stop the mixer. Add the vanilla for WHITE marshmallow
10Again start the mixer at a low speed, then speed up to get the mixture start to happen!
11Once the marshmallow starts to stick to the beaters ie it starts to cling onto the beaters and rise up the beaters, then it's ready.
Pour into your prepared pan, leave to set at room temperature. This might take a few hours.
PREPARING MARSHMALLOWS
12Take the marshmallow out of the pan and dust the top with cornflour. This is to get rid of the stickiness
13Turn the marshmallow upside down and with a wet sponge/chux dampen the baking paper. It will be wet enough when you see it start to wrinkle.
14Gently get a corner or bit of paper and peel it from the marshmallow. It should come away cleanly.
15Dont forget to dampen the sides as well. Sometimes you need to add a bit more water and wetness to the marshmallow to get it to separate. Dont be too shy!
16Then get a sharp knife, I usually use heavy cleaver for this.
17Cut the marshmallow into chunks, approx 3 or 4 cm square, but any size will do really! It's about what you want your marshmallow to be like bite-sized, or a good mouthful.
18Roll all the chunks into corn flour to get rid of the stickiness on all sides.
19Mix the two colours together and put aside for Rocky Road construction.
TO CREATE THE ROCKY ROAD
20Prepare your pan or container. For this recipe I used a box (actually I had a cardboard wine bottle box) it measured 26cm x 11cm x 11cm. It doesn't really matter what you use, whatever works for you. But this gives an idea of size.
Line it with baking paper
21Chop the copha into small bits
22Add both the the Choc buttons and copha in a bowl and into the micro wave and heat for 45 seconds or so. This is so much dependant on your microwave. Repeat this process until melted.
23I use the microwave for this as its quick and easy, but heat and stir the choc/copha mixture regularly so that it doesnt burn. Keep taking the choc mixture out of the microwave and keep stirring. It takes a few times, but its worth the patience for the results.
24Once its completely melted the result should be like "runny" cream. Very liquid.
PULLING ALL THE INGREDIENTS TOGETHER FOR THE ROCKY ROAD
25I think this is probably the trickiest direction when you're making Rocky Road for the first time. But don't be alarmed. I've make this recipe for your kitchen, not a commercial confectionery kitchen that has a few other things like a hot table to work with.
26Make sure your marshmallow and the nuts are at room temperature.
27We're using our hands here...so please ensure they are clean, ie freshly washed in soapy water!
28Get your melted choc and now mix in the macadamia nuts. The reason for this is that we want the macadamia and/or peanuts to have a coating of chocolate and not stick to the marshmallow, this also helps with shelf-life
29Get a handful of the marshmallow squares and put them in the chocolate to cover and then put into your container
30Repeat this process until all the marshmallow has been done. Press is down to get rid of any air pockets.
31The beauty of marshmallow is that its flexible and so will press down really easily
32The macadamia/peanuts nuts will sink to the bottom, so scoop a few nuts up every time you coat your marshmallow to get them thru evenly.
33Once all the marshmallow is done and in the container then just scoop out any left over choc and add on top.
34The reason I say to just do a few marshmallow chunks at a time is so that the chocolate doesn't set on you. It doest set pretty quickly if you just tip the whole batch in at once, this avoids the big lump affect!
It still cuts up and tastes fine, but just doesn't look as pretty!
Once the Rocky Road has set
35Its better at room temperature at all times. I know this is pretty hard during the heat of summer and when its really humid!
36Take out of the container and peel away the paper.
37Get a heavy knife, I use a cleaver again. Don't use a serated bread knife. We want a nice clean cut to show off our work.
38With the knife just press down putting your weight on the Rocky Road to get a clean cut.
39The knife might get a bit sticky as the cross-section reveals the marshmallow
40Wipe knife in between cuts with a damp cloth.
41Enjoy your Rocky Road.
Rocky Road with Marshmallows


Leave A Comment
You must be logged in to post a comment.